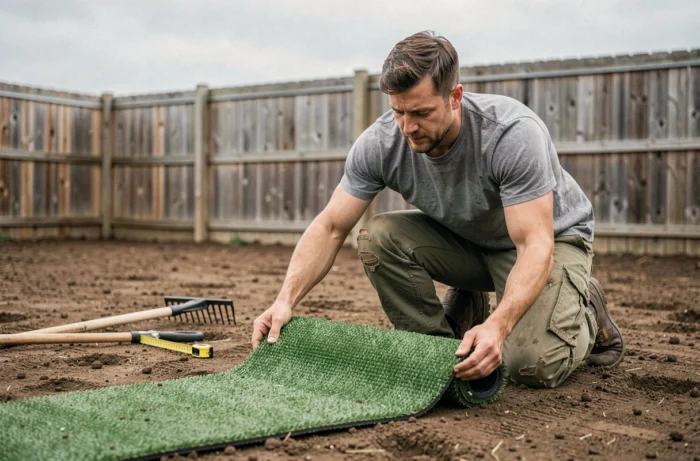
A roll of synthetic grass laid on poorly prepared ground will always end up wrinkling, peeling, or allowing weeds to grow between the seams. The outcome depends less on the product chosen than on the work done beforehand, directly on the soil. Installing synthetic grass on natural soil requires a methodical preparation of the ground, careful compaction, and a thoughtful choice of underlayer. Here’s how to approach each phase to achieve a stable and durable surface.
Geotextile on natural soil: weight and overlap make all the difference
Most guides present geotextile as a simple weed barrier. On natural soil, its role goes further: it provides a mechanical separation between the living soil and the grass. Without this layer, soil movements (roots, differential settling, moisture rise) are transmitted directly to the visible surface.
A French manufacturer of installation accessories recommends a geotextile of 150 g/m² with an overlap of 10 to 15 cm between each strip. As soon as the soil is damp, loose, or very biologically active, this overlap should be increased. The idea is to prevent any unprotected area where a root or stone could pierce the covering.
Before unrolling the geotextile, inspect the compacted surface for sharp stones, aggressive roots, or air pockets. A detail overlooked at this stage creates a visible deformation once the grass is laid. To fully understand the steps for installing synthetic grass, this phase of checking the support deserves as much attention as the compaction itself.
Compaction of natural soil: the technique that prevents settling
Have you ever noticed artificial lawns that have depressions after a few months? The problem almost always comes from insufficient or poorly distributed compaction.
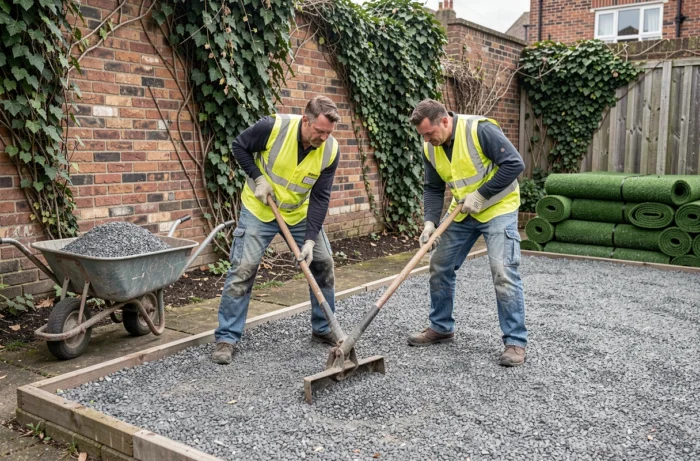
On loose soil (topsoil, old flowerbed, turned area), compaction does not happen in a single pass. First, the superficial organic layer must be removed, then leveled with a layer of crushed sand or gravel. Each layer is compacted separately, using a vibrating plate or a weighted lawn roller.
The sand: not just any kind
River sand, being too round, does not compact properly. It slips on itself and creates unstable pockets. Crushed sand (type 0/4 or 0/6) interlocks grain by grain and forms a rigid base after compaction. The difference is felt by touch: crushed sand stays in place when you run your hand over it, while round sand flows away.
Once the layer of sand is spread with a rake, compact it in crossed passes. Two perpendicular passes are better than a single heavy pass. The final surface should withstand a foot imprint without sinking more than a few millimeters.
Drainage and slope: anticipating water before laying synthetic grass
Natural soil retains water. Synthetic grass, on the other hand, allows it to pass through its perforations. If water stagnates under the covering, it creates puddles, odors, and accelerates the degradation of the underlayer.
A slight slope directed towards a drainage area is the best assurance against stagnation. On flat terrain, this slope must be artificially created during leveling with sand. The inclination does not need to be visible to the naked eye to be effective.
Clay soil: a special case
Clay soils drain very poorly. On clayey land, the layer of crushed sand must be thicker to serve as a draining buffer between the compact soil and the geotextile. Without this precaution, water rises by capillarity, and the geotextile remains permanently damp, which encourages mold and unpleasant odors.
A simple test can verify drainage: thoroughly water the prepared area and observe the absorption time. If puddles persist after a few minutes, the leveling or thickness of sand must be corrected before proceeding.
Fixing and joining strips of synthetic grass on soil
The cutting and joining of strips are the most visible actions of the project. A poorly done joint is immediately noticeable: a clear line appears between two strips, or the fibers are oriented in opposite directions.
Why does this defect occur so often? Because synthetic grass strips have a manufacturing direction. The fibers are inclined in one direction. When two strips meet with differently oriented fibers, the light creates a very visible color contrast.
- Unroll all strips in the same direction before starting to cut, to check the orientation of the fibers and their visual consistency.
- Let the unrolled strips rest for a few hours (ideally in warm weather) to allow them to relax and lose the memory of the roll.
- Use a glued joining tape rather than simple tape, which peels off due to the moisture from the natural soil.
- Secure the perimeter with stakes every 20 to 30 cm, driving the heads under the fibers so they remain invisible.
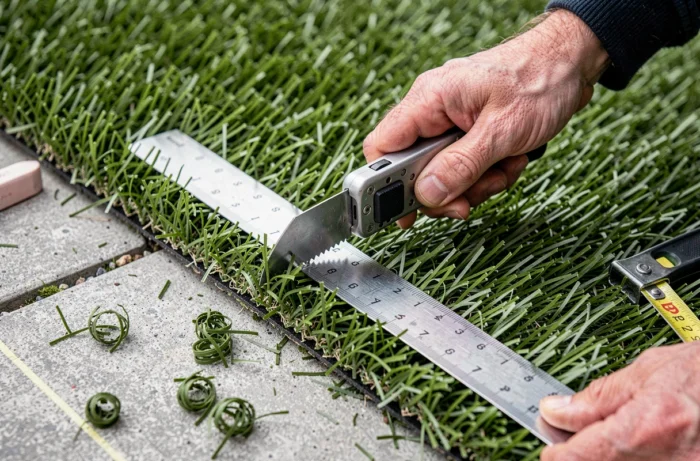
The cutting is done with a utility knife, always from the back of the grass. Cutting from the visible side damages the fibers and leaves uneven edges.
Maintenance of synthetic grass laid on natural soil
Unlike installation on concrete slabs or terraces, synthetic grass laid on soil remains in contact with a living environment. Dead leaves trapped between the fibers decompose, form an organic layer, and can trigger the germination of wind-borne seeds.
Regular brushing against the direction of the fibers is enough to prevent this phenomenon. It also straightens the fibers crushed by repeated foot traffic and maintains the natural appearance of the artificial lawn. A leaf blower in the fall prevents the accumulation of organic matter in the infill.
- Brush against the grain once a month in high-traffic areas.
- Rinse with clear water after a pollen or significant dust episode.
- Check peripheral fixings (stakes, joining strips) at least once a year, especially after a wet winter.
A well-laid synthetic grass on natural soil requires no mowing, watering, or treatment. The only real investment is the preparation of the ground. It determines whether the result will be convincing in two years or if the first defects will appear as early as the first winter.